Eyebrow Tattoo Healing Process & Aftercare
Your eyebrow tattoo healing should go by easily and smoothly as long as you are healthy and you follow the aftercare given to you by your permanent makeup artist. We’re going to cover how your eyebrow tattoo will look as it’s healing and the two most popular methods of eyebrow tattoo aftercare.

Eyebrow Tattoo Healing is Not Bad, Promise
Your eyebrow tattoo healing should go by easily and smoothly as long as you are healthy and you follow the aftercare given to you by your chosen permanent makeup artist. We’re going to cover how your eyebrow tattoo will look as it’s healing and the two most popular methods of eyebrow tattoo aftercare.
How Your Eyebrow Tattoo Healing Will Look Day By Day
Day 1: Your new eyebrows are gorgeous and you couldn’t be happier!
The color is exactly what you hoped and the shape is perfect.
Days 2-4: You’ll notice that your color has darkened slightly, this is only temporary.
This is because the fresh color has oxidized, and it will last up to 7 days. Scabbing should be so thin and minimal that you feel comfortable going to work the very next day.
Days 5-7: Your microbladed eyebrows will begin to flake.
This is a natural part of your skin’s healing process and you’ll want to avoid picking or itching. This typically lasts 1-2 days.
Days 8-10: Your flaking has finished and you will feel fully healed.
You can now treat your eyebrows normally. Even though your eyebrows and skin feel normal now, you’re still undergoing the healing process. This means that your eyebrows will for a time look lighter than they will when completely healed at 6 weeks. The reason for this is that at first you will have new, baby skin and it will need several more weeks to finish healing.
Days 14-28: Finally your eyebrow tattoo has fully healed.
You should love the color and the shape should be exactly right. Soon you will be returning for your eyebrow tattoo follow up appointment where your artist will see how you’ve healed.
Day 42: You can return for your follow up.
Your follow up is your chance to ask your artist to make any adjustments you’d like. If you were nervous during your initial service and, and you wish you had gone darker or fuller, now is the time to make your improvements. You should leave completely in love with your new eyebrows.
Permanent Eyebrow Tattoo Aftercare: Wet Heal vs Dry Heal
There are two popular methods that permanent eyebrow tattoo artists use. We’ll tell you everything you need to know about each of them.
Dry Heal
Dry healing has been around longer than wet healing. It’s an older method and how many artists have their client’s still heal today. With dry healing, you won’t get your permanent eyebrows wet, exactly as it sounds. After your appointment, you will let your eyebrows heal on their own with no assistance
PROS: There is no aftercare kit required and there’s nothing for you to do.
CONS: You’ll lose more color and have to deal with heavy scabbing.
Wet Heal
Most eyebrow tattoo artists today have their client’s wet heal. Your artist will have you wipe your eyebrows every 15 minutes to 1 hour after your appointment. You’ll do this for 1 to 3 days depending on your artist’s preference and your skin type. You’ll also use a healing gel to keep your skin hydrated.
PROS: You won’t have scabbing and your color will heal more evenly.
CONS: You’ll have an aftercare kit to keep on you and a bit of hands-on work to do.
Dry healing is still a common method even though wet healing has proven to have the most promising healed results. You can speak with your artist about their healing method and what they’d like from you when healing.
We recommend wet healing if you want to achieve your best eyebrow tattoo results
What You Need For Your Eyebrow Tattoo Wet Healing Aftercare
We recommend wet healing if you want to achieve your best eyebrow tattoo results. Here are the top aftercare items you’ll need.
Cotton Pads
You’ll clean your eyebrows every 15 minutes to 1 hour immediately following the procedure using cotton pads and water.
Permanent Eyebrow Tattoo Cleanser
You’ll use your cleanser to wash your eyebrows morning and evening.
Permanent Eyebrow Tattoo Healing Gel
Eyebrow tattoo healing gel is specially formulated to help your eyebrow color heal with longer-lasting and more brilliant color.
Eyebrow Blotting Pads
If you have oily or combination skin then you should be using blotting pads to soak up excess oil. This will help your eyebrow tattoo to heal with more color.

Are You Unhappy With Your Microblading?
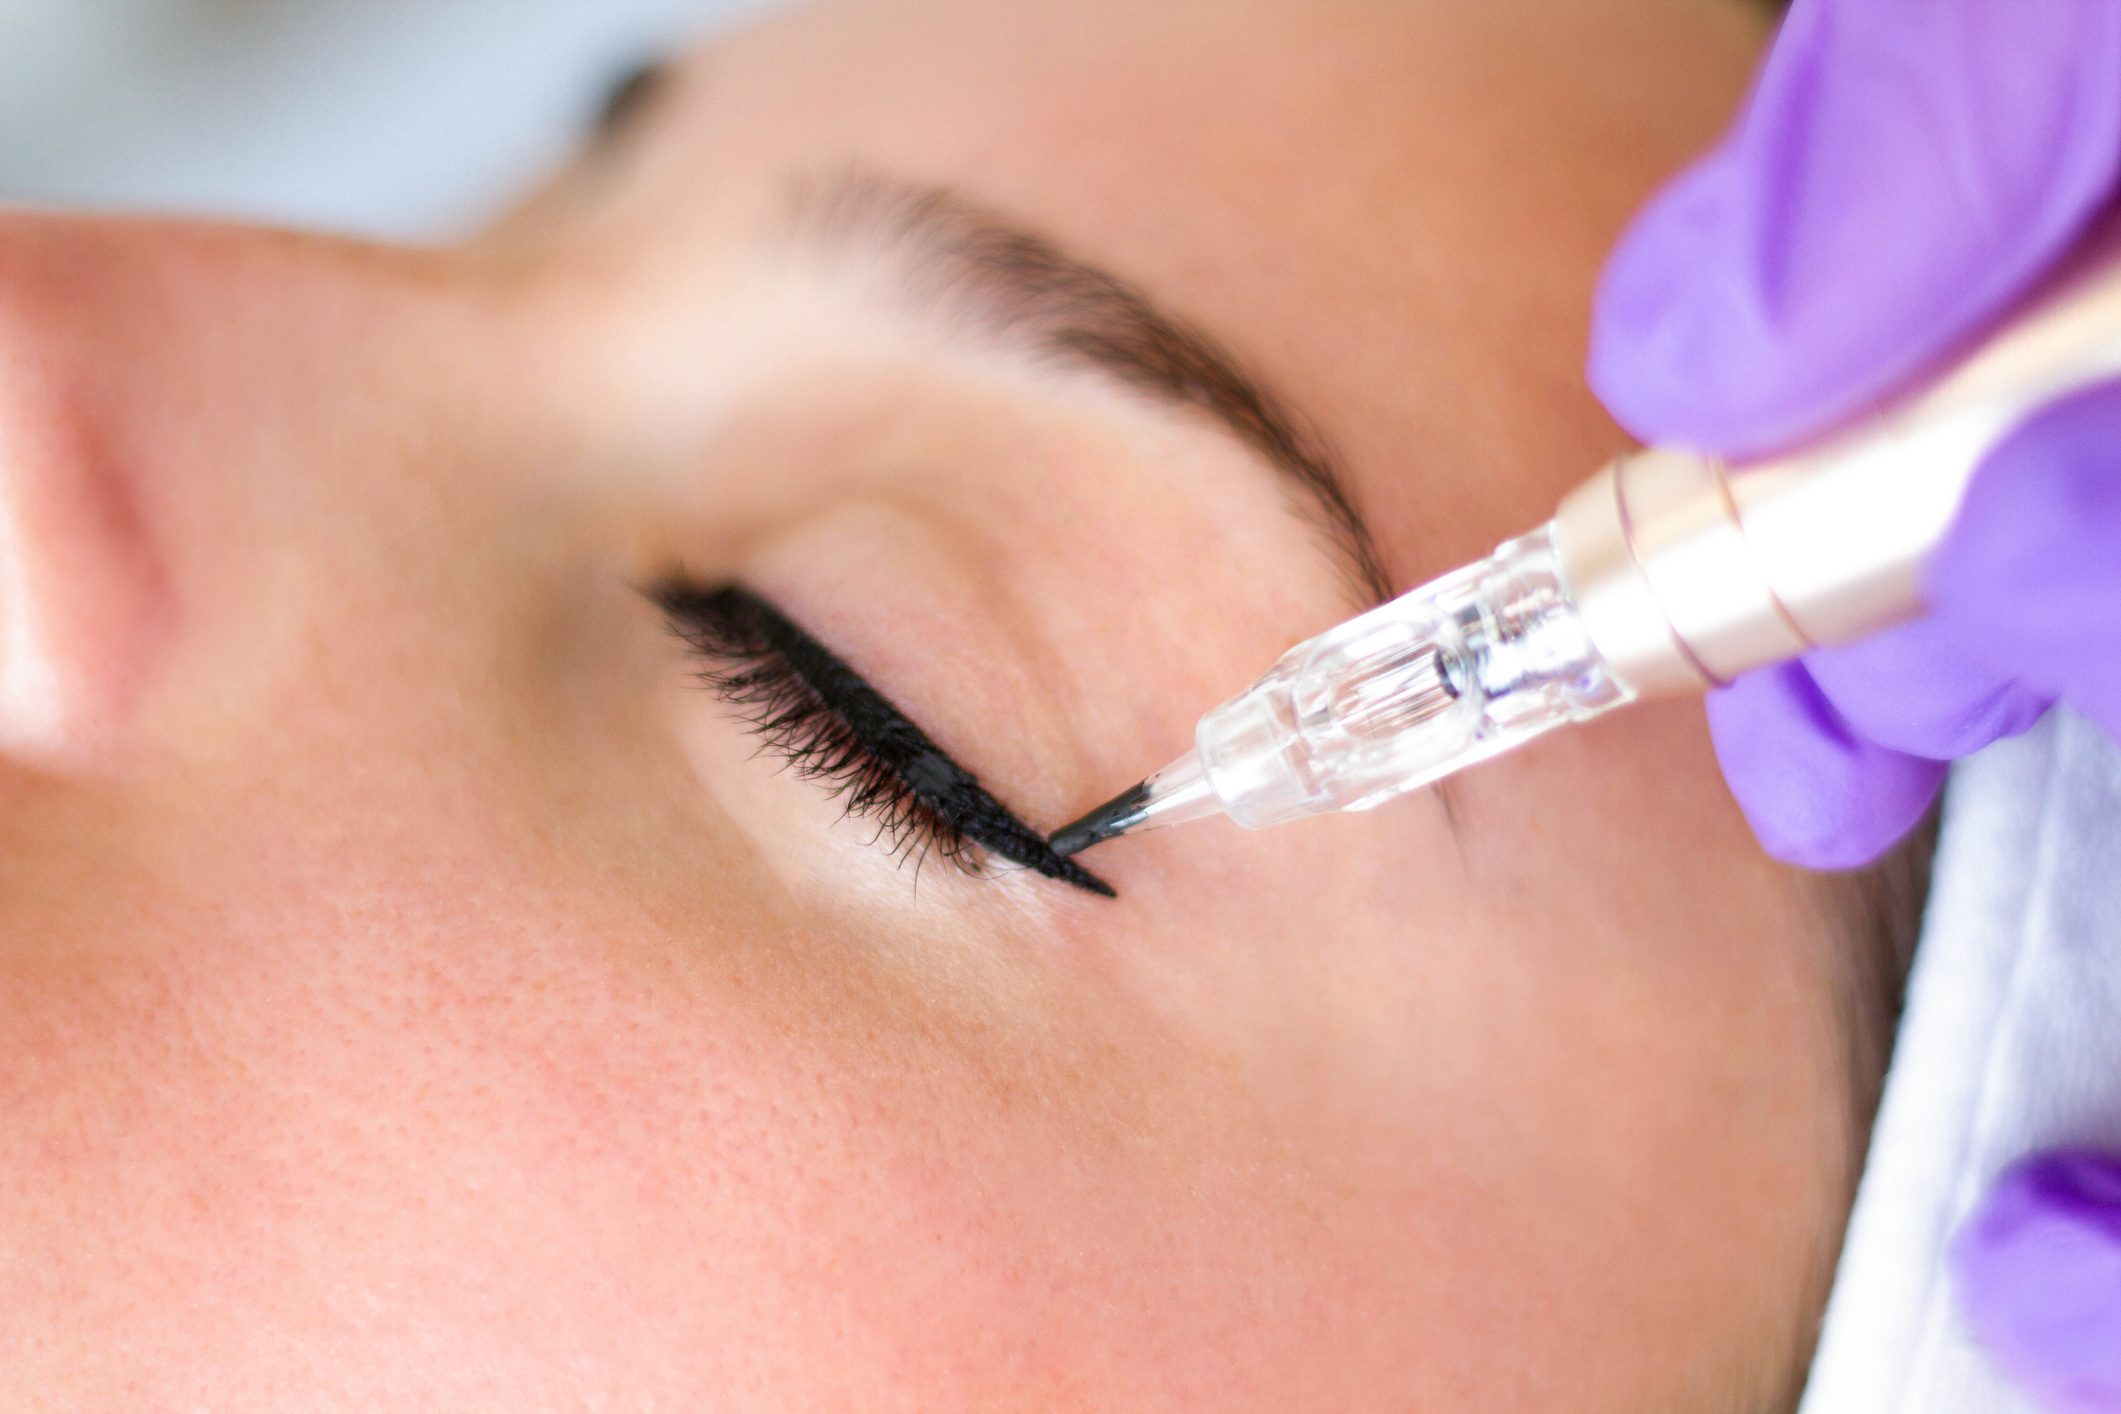
Permanent Eyeliner Aftercare: Everything You Need to Know
The permanent eyeliner healing process is known to be the easiest of all permanent makeup healing. That probably comes as a surprise. As long as you are in good health, you can expect swift, easy healing. We’re going to go over how your permanent eyeliner will look as it’s healing and the two most common and popular methods of permanent eyeliner aftercare.

Permanent Eyeliner Aftercare is Actually Pretty Easy
The permanent eyeliner healing process is known to be the easiest of all permanent makeup healing. That probably comes as a surprise. As long as you are in good health and have chosen the right artist, you can expect swift, easy, and safe healing. We’re going to go over how your permanent eyeliner will look as it’s healing and the two most common and popular methods of permanent eyeliner aftercare.
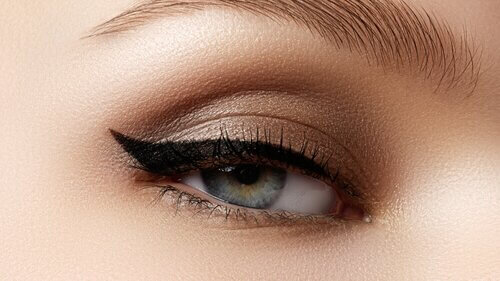
What to Expect After Permanent Eyeliner: Healing Schedule Day by Day
Day 1: You’ll love your new eyeliner!
Your eyeliner color is approximately 30% darker than it will be when it’s healed. It will also appear slightly larger than it will heal in just a few days. This is due to color oxidation as well as a small amount of swelling and it is a normal part of your healing process. You will have no trouble driving home and going about the rest of your day normally. It’s unlikely that anyone will notice you’ve had your eyeliner permanently done except for possibly those you know very well.
Days 2-3: Your color will darken temporarily as the pigment oxidizes and thin scabs will form.
You may wake up slightly puffy but you can remedy this by sleeping on an incline or applying a cool compress. Your eyeliner will feel tight and dry, but not painful.
Days 3-5: Your eyeliner will begin flaking until there is no scabbing left.
You want to allow healing to shed naturally. Once all scabbing has finished flaking, it is common for the color to appear lighter than it will eventually heal. This lighter color is only temporary as your freshly healed skin is hiding the true color underneath. Over the next several weeks your eyeliner color will bloom.
Day 42: At 6 weeks your eyeliner is fully healed.
It’s now okay for you to come back in for your follow up. Any adjustments such as darkening the color or altering the shape can be done at this appointment.
Permanent Eyeliner Aftercare: Wet Healing vs Dry Healing
Here are the two most popular aftercare methods that permanent eyeliner artists are using:
Dry Heal
Dry healing was the most popular before wet healing existed. Dry healing is how it sounds. You’ll keep your permanent eyeliner dry at all times. After your permanent eyeliner appointment you won’t touch your eyeliner at all. You’ll let your eyeliner heal on its own.
PROS: There’s nothing for you to do and there’s no aftercare kit required.
CONS: You’ll have heavy scabbing during healing and your color won’t heal evenly.
Wet Heal
Wet healing is how most permanent eyeliner artists have their client’s heal today. Your artist will have you clean your eyeliner every 15 minutes following your appointment. Depending on your artist’s preference, you’ll do this for 2 to 3 days. You’ll also use an eyeliner healing gel to keep your eyeliner from drying out.
PROS: You’ll have no scabbing and your color will heal much more evenly.
CONS: You’ll have some work to do and an aftercare kit to keep on you.
Dry healing is still a common method even though wet healing has proven to have the most promising healed results. You can speak with your artist about their healing method and what they’d like from you when healing.
Wet healing is the #1 way to achieve your best Permanent Eyeliner results.
What You Need For You Permanent Eyeliner Wet Healing Aftercare
Wet healing is the #1 way to achieve your best Permanent Eyeliner results. Here are the top aftercare items you’ll need.
Cotton Pads
You’ll clean your eyeliner every 15 minutes immediately following the procedure using cotton pads and water.
Permanent Eyeliner Cleanser
Gently cleanse your eyeliner daily with an approved permanent makeup cleanser.
Permanent Eyeliner Healing Gel
Permanent eyeliner healing gel is specially formulated to help your eyeliner color heal with longer-lasting and more brilliant color.
Eyeliner Blotting Pads
If you have oily or combination skin then you should be using blotting pads to soak up excess oil. This will help your eyeliner heal with more color.
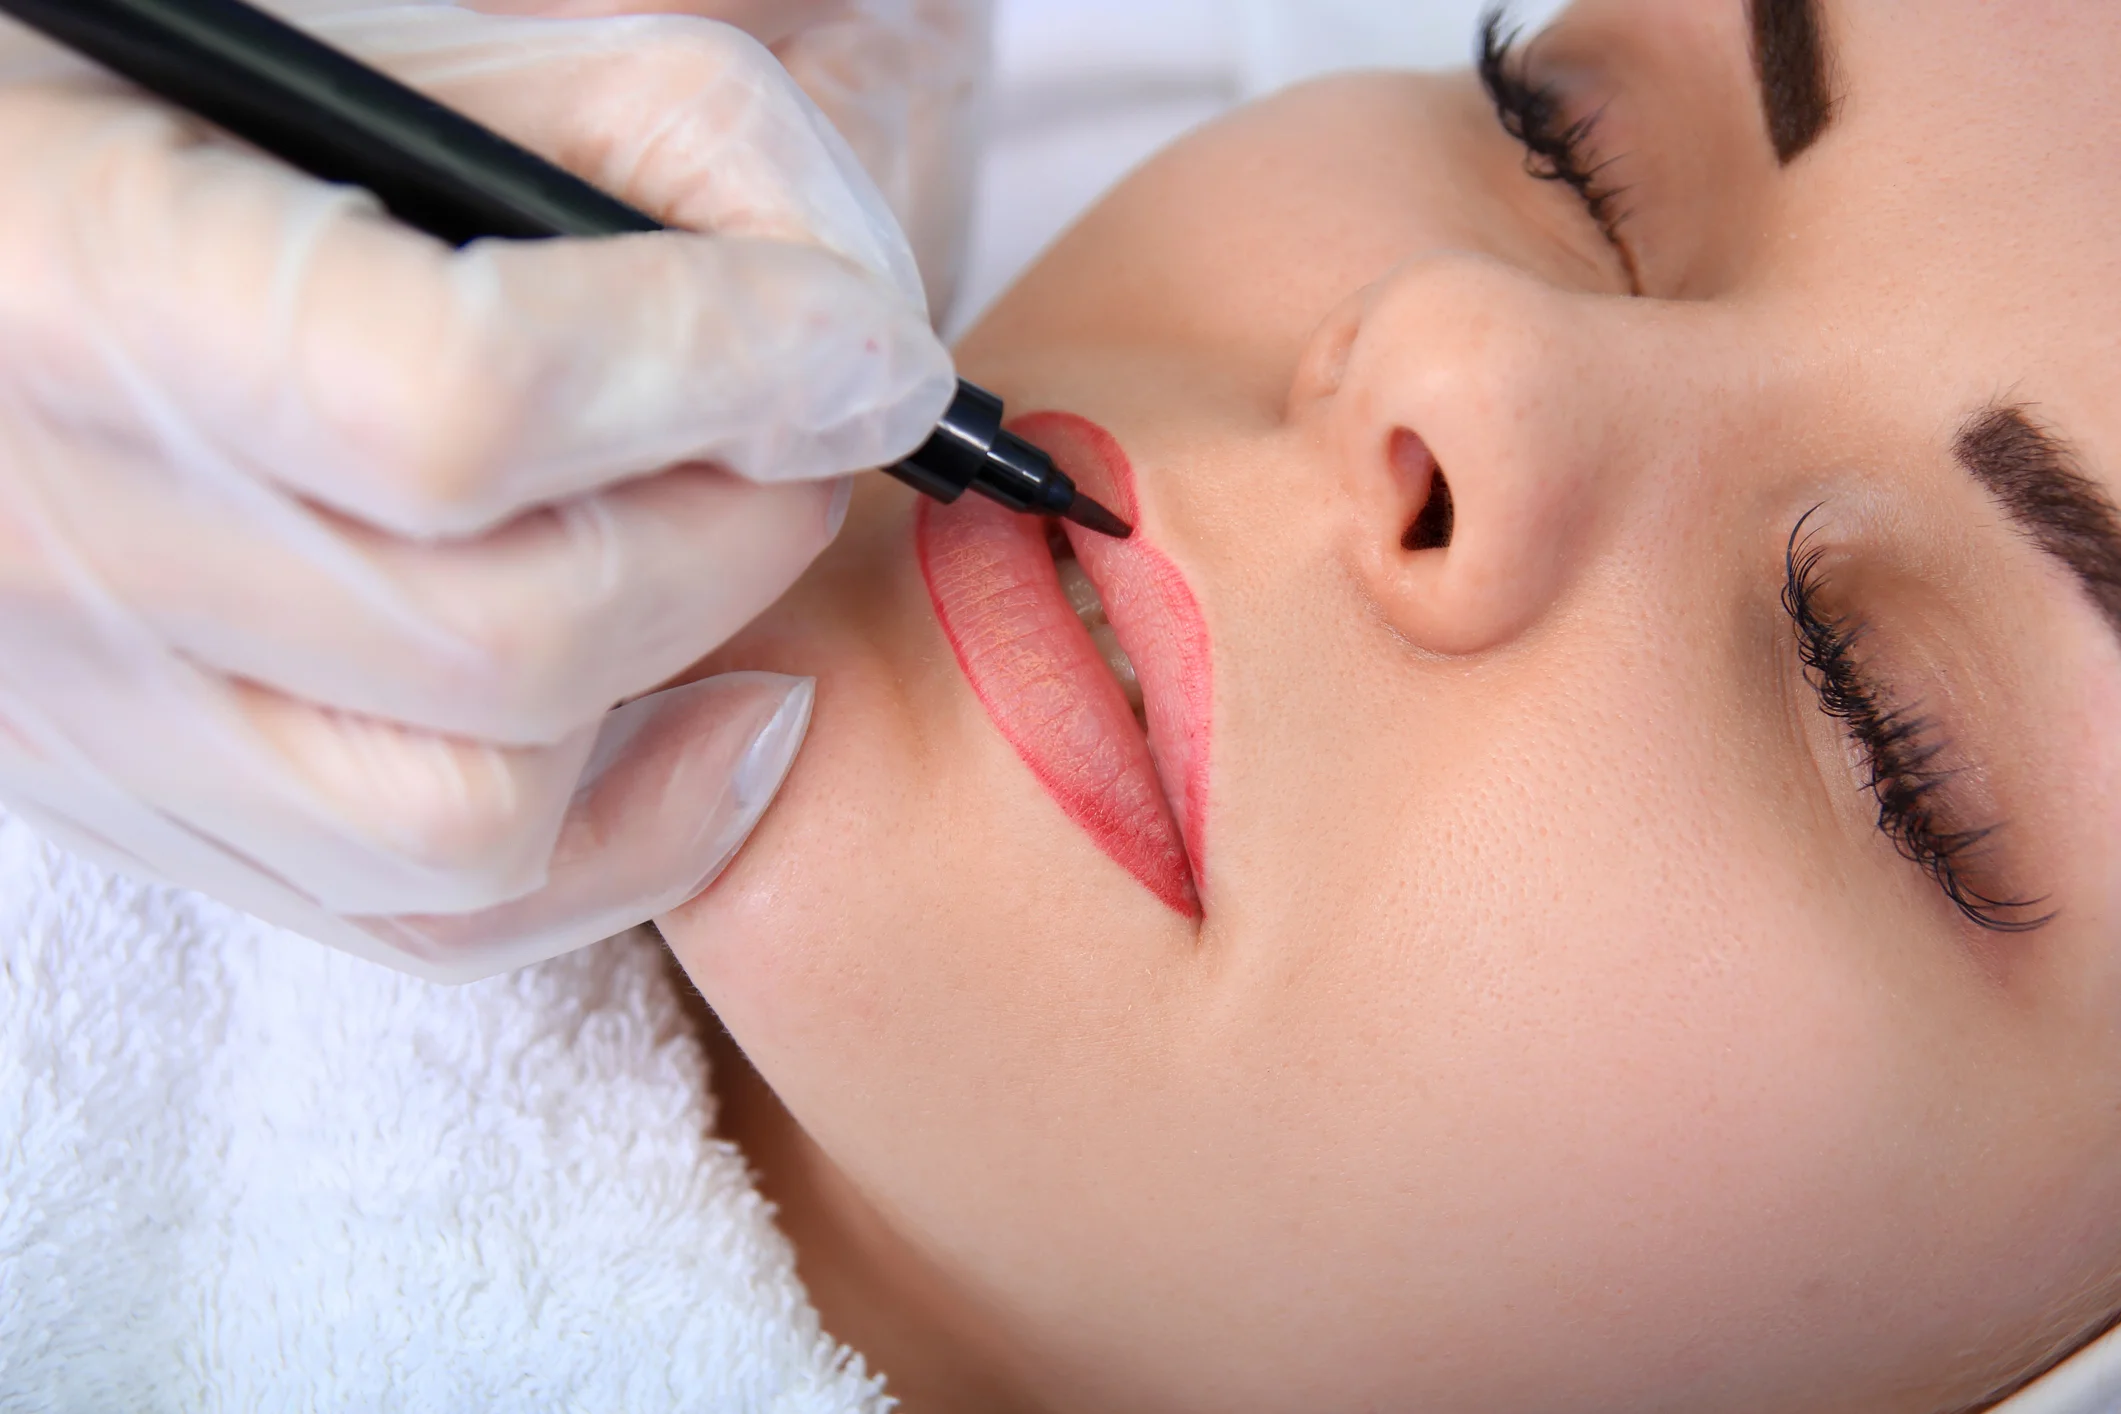
Permanent Lip Color Healing Process: Everything You Need to Know
While it’s normal to have some initial swelling after having your lip color tattooed, as long as you are in normal health, you should be pleasantly surprised at how easily and quickly your lips heal. Proper aftercare will affect how long your permanent lip color lasts. We’re going to take a look at how your permanent lipstick will look as it’s healing, and the two most common and popular methods of lip blushing aftercare.
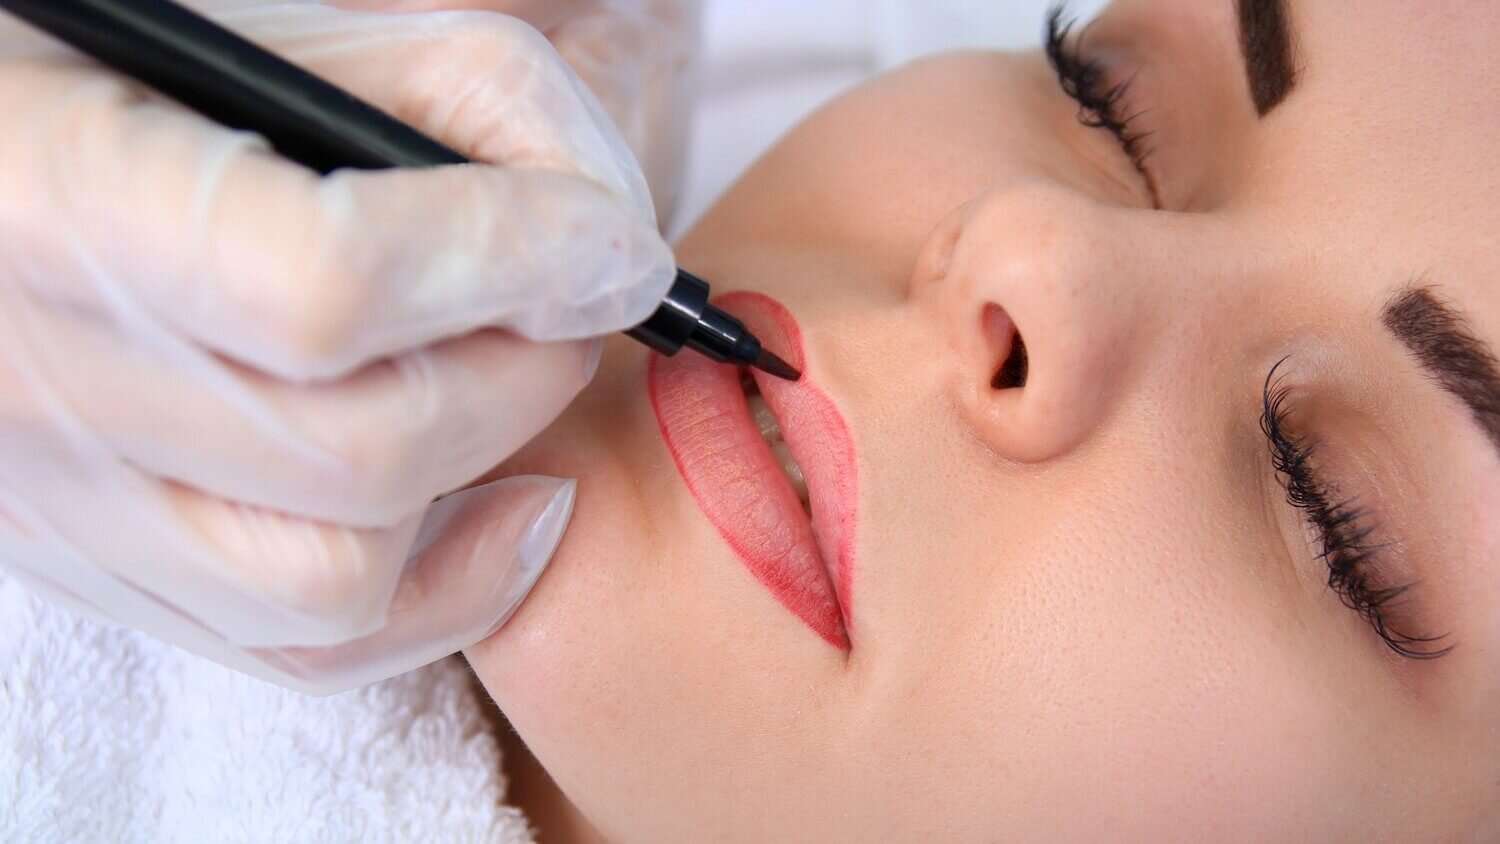
Your Permanent Lip Color Healing Should Feel Easy
While it’s normal to have some initial swelling after having your lip color tattooed, as long as you are in normal health and, have chosen the right artist for you, you should be pleasantly surprised at how easily and quickly your lips safely heal. Proper aftercare will affect how long your permanent lip color lasts. We’re going to take a look at how your permanent lipstick will look as it’s healing, and the two most common and popular methods of lip blushing aftercare.
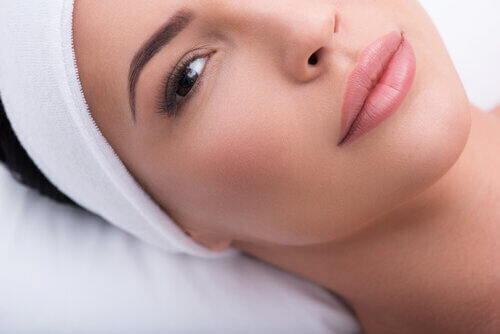
How Your Lip Color Will Heal
Days 1-2: You love your new lip color!
Your lip color will appear brighter than it will heal. Your lips will also feel swollen and tender. Your color will begin to darken temporarily throughout the day as the pigment oxidizes.
Days 3-14: Swelling will have finished.
Your lips will feel dry and start the flaking process. Allow shedding to happen naturally. As your lips flake, it will appear that your lip color is very light and "frosty". This is only temporary as you are still healing. Over the next several days your lip color will reappear until it fully blooms.
Days 28-42: It’s time for your follow up.
By this time your lips are fully healed and it’s recommended that you come back in to touch up any color that might have healed too light or at all imperfectly. Applying a second layer of new color will build off of your previous color, creating a more saturated and longer-lasting lip. During this appointment, you also have the opportunity to further adjust the shape if desired.
Permanent Makeup Lips Healing Aftercare: Wet Heal vs Dry Heal
Here are the two most favored aftercare methods that permanent lip blushing artists are using everywhere:
Wet Heal
Wet healing is how most permanent lip color artists have their client’s heal today. Your artist will have you blot your lips with cotton pads every 15 minutes following your appointment. You’ll do this for 3-5 days depending on your artist’s preference. You’ll also use a lip color healing gel to keep your lips from drying out.
PROS: You’ll have no scabbing and your lip color will heal much more evenly.
CONS: You’ll have some work to do and an aftercare kit to keep on you.
Dry Heal
Dry healing’s been around longer than wet healing. It’s how all permanent lip color artists used to have their clients heal, and some still do. Dry Healing is precisely how it sounds. You don’t get your permanent lip color wet during healing, ever! After your appointment you do not touch your lips. You let them heal on their own with no assistance.
PROS: There’s nothing for you to do and no aftercare kit required.
CONS: You’ll have heavy scabbing during healing and you’ll lose more color.
Dry healing is still a common method even though wet healing has proven to have the most promising healed results. You can speak with your artist about their healing method and what they’d like from you when healing.
Wet healing is the #1 way to achieve your best Permanent Lip Blushing results
What You Will Need For Your Wet Healing Aftercare
Wet healing is the #1 way to achieve your best Permanent Lip Blushing results. Here are the top aftercare items you’ll need.
Cotton Pads
You’ll clean your lip color every 15 minutes immediately following the procedure using cotton pads and water.
Permanent Lip Blushing Cleanser
Safely clean your lip color morning and evening with a permanent makeup approved cleanser.
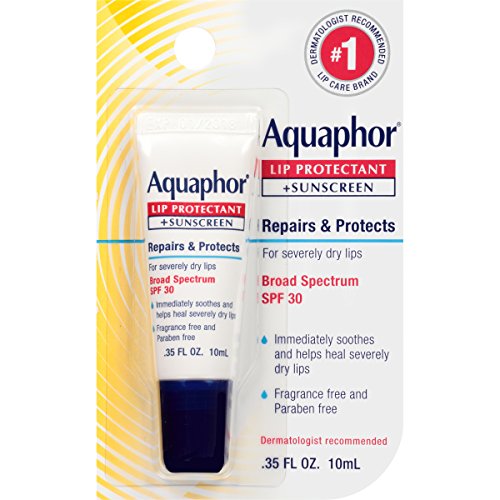
SPF 30 Lip Balm
Permanent lip blushing will fade if exposed too early to the sun. It is suggested to apply an SPF 30 lip balm for up to 1 month after all flaking has finished.
Permanent Lip Blushing Healing Gel
Permanent lip blushing healing gel is specially formulated to help your lip color heal with longer-lasting and more brilliant color.